Table of Contents
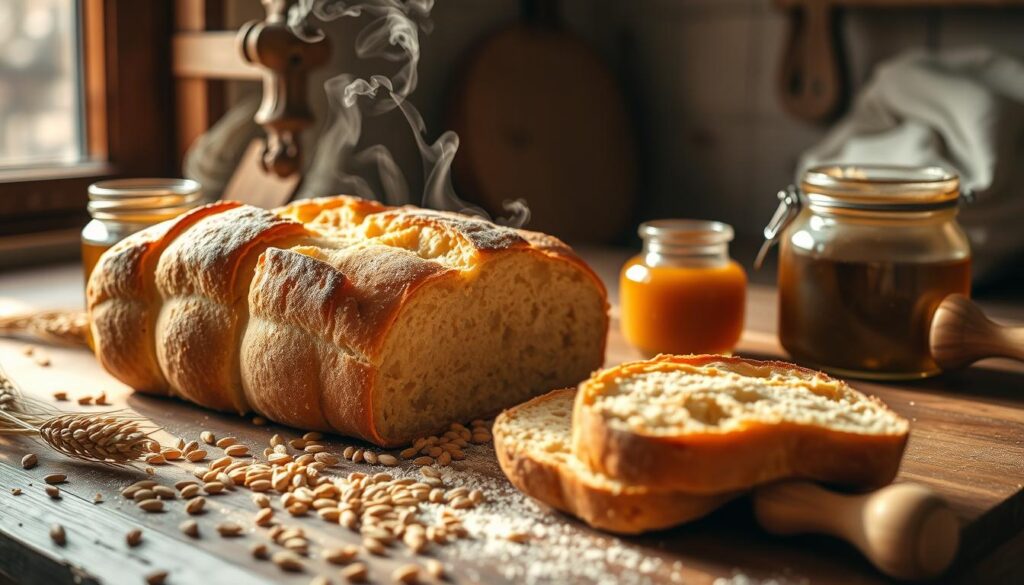
The smell of fresh bread in your kitchen brings back happy memories. It’s a feeling of simpler times and family coming together. As a home baker, I love making homemade bread from scratch. Today, I’m excited to share my favorite Honey Wheat Bread recipe with you.
This bread is easy to make and full of flavor and texture. It’s perfect for any occasion.
Key Takeaways
- This recipe yields 2 fluffy loaves of honey-sweetened whole wheat bread.
- The total prep and cook time is just 3 hours and 5 minutes, making it a doable project for busy home bakers.
- The bread combines the wholesome goodness of whole wheat flour with the lightness of all-purpose flour, resulting in a soft and versatile loaf.
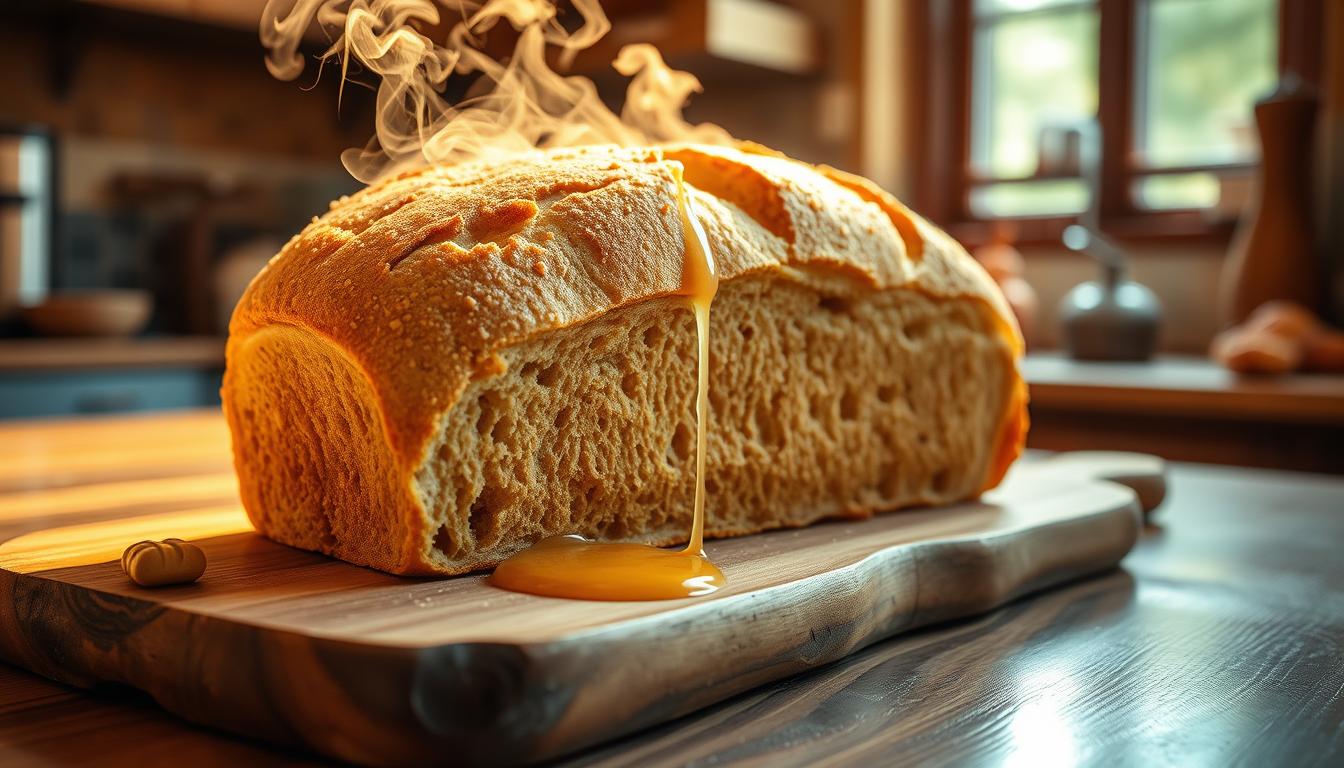
- Honey adds a touch of natural sweetness, complementing the nutty flavor of the whole grains.
- This recipe uses active dry yeast and requires two rise periods, ensuring a perfect crumb and texture.
Why This Homemade Wheat Bread Will Become Your Favorite
Making your own homemade bread is rewarding. This wheat bread recipe with honey has been a hit for my family for 9 years. It’s sure to become a favorite for you too.
Perfect Texture and Taste
This recipe mixes whole wheat and all-purpose flour for a soft, fluffy texture. Honey adds sweetness that complements the whole grains’ nutty flavor. The result is a wheat bread that’s hard to resist, with a crisp crust.
Simple Ingredients
This recipe is special because it’s simple. You only need flour, yeast, honey, and oil, which you probably have at home. Using both whole wheat and all-purpose flour gives you the best of both worlds.
Time-Tested Recipe
This wheat bread recipe has been perfected over years. It’s easy to follow, even for beginners. You can also try different variations, making it a go-to recipe.
“This wheat bread recipe has become a staple in our household. It’s simple to make, healthier than store-bought options, and always leaves us with a fresh, fragrant loaf that we can’t wait to slice into.”
Essential Ingredients and Equipment
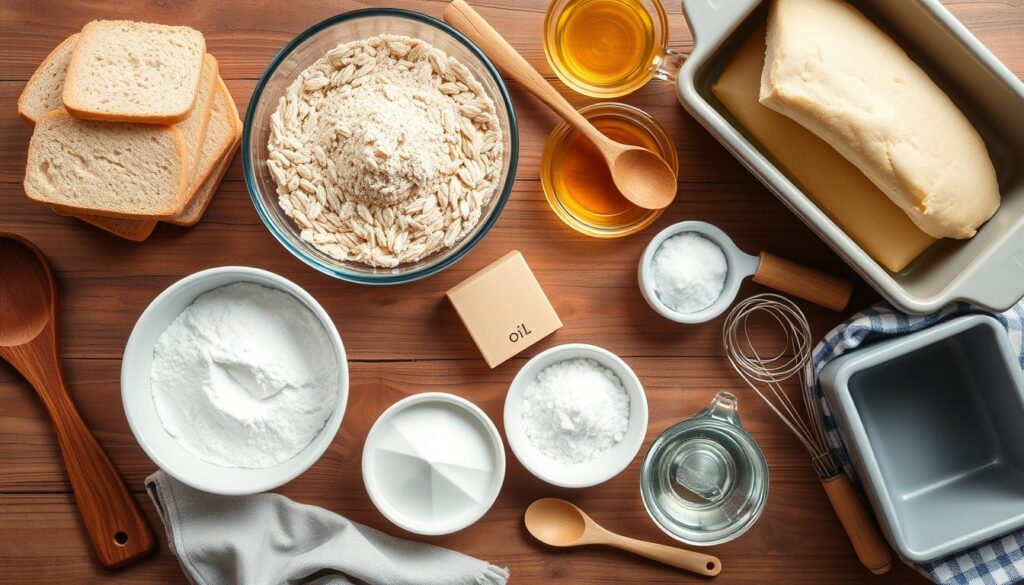
To bake this tasty honey wheat bread, you’ll need some key ingredients and kitchen tools. Let’s explore what you need:
The main ingredients are whole wheat flour, bread flour, yeast, honey, milk, water, salt, and butter or oil. It’s best to use unbleached, minimally processed flours for the best taste.
- 2 cups warm milk (115-120 degrees Fahrenheit)
- 1/4 cup warm water (115-120 degrees Fahrenheit)
- 1/4 cup honey
- 2 packages Red Star Platinum Superior Baking Yeast
- 3 1/4 cups whole wheat flour
- 1 tablespoon salt
- 2 tablespoons melted butter
- 2 1/4 cups bread flour
You’ll also need a stand mixer with a dough hook (optional), a large mixing bowl, loaf pans, measuring cups and spoons, and a wire cooling rack. These tools help with mixing, kneading, and shaping the dough. They also ensure the bread bakes and cools right.
| Equipment | Purpose |
|---|---|
| Stand mixer with dough hook | Mixing and kneading the dough |
| Large mixing bowl | Preparing and proofing the dough |
| Loaf pans | Baking the bread |
| Measuring cups and spoons | Accurately measuring ingredients |
| Wire cooling rack | Allowing the baked bread to cool |
With these ingredients and tools, you’re ready to bake a delicious and healthy honey wheat bread at home.

Honey Wheat Bread Recipe: Step-by-Step Instructions
Baking homemade honey wheat bread is a rewarding experience. It fills your kitchen with the delightful aroma of freshly baked bread. Follow these step-by-step instructions to create a loaf of soft, fluffy, and flavorful honey wheat bread right in your own home.
Preparing the Yeast Mixture
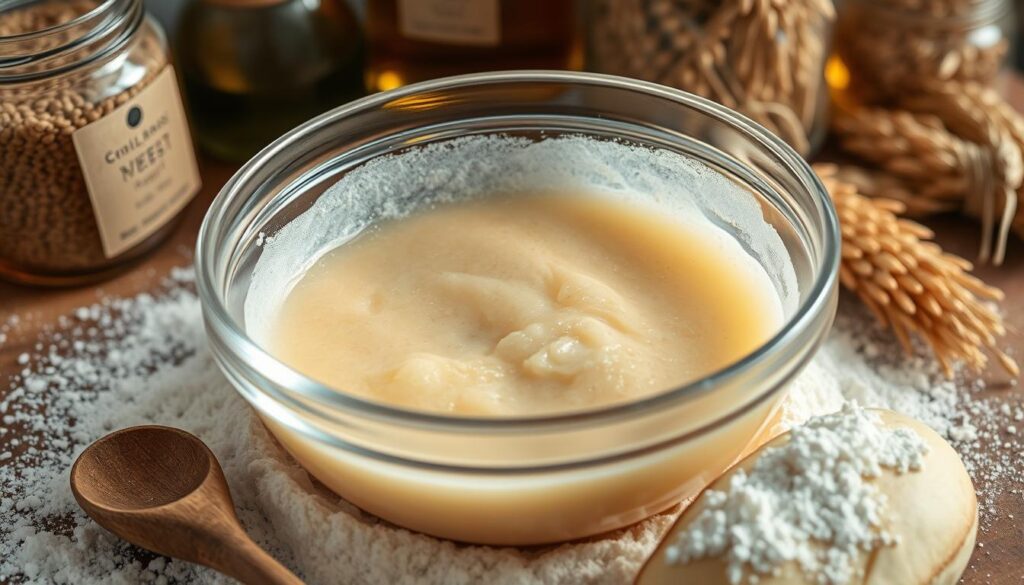
Start by dissolving the yeast in warm water and honey. This yeast mixture will help the dough rise and develop its signature texture and flavor. Stir the ingredients together until the yeast is fully dissolved, then set the mixture aside to bloom for about 5 minutes.
Mixing and Kneading Process
In a large bowl, combine the yeast mixture, whole wheat flour, salt, and oil. Using a stand mixer with a dough hook attachment, gradually add in the all-purpose or bread flour. Knead the dough until it becomes smooth and elastic, which should take about 10-15 minutes.
First and Second Rise
Transfer the dough to a lightly greased bowl, cover it with a damp towel or plastic wrap, and let it rise in a warm place. Let it rise until it has doubled in size, about 45 minutes to 1 hour. Punch down the dough to release any air bubbles, then shape it into a loaf and place it in a greased 8 1/2-by-4 1/2-inch loaf pan. Cover the pan and let the dough rise again until it’s 1 to 1 1/2 inches above the top of the pan, about another 45 minutes to 1 hour.

The total rise time for the dough is approximately 2 hours. This ensures a light and fluffy texture in the final bread.
Baking Tips for Perfect Results
Baking homemade baking bread and wheat bread recipe is rewarding. But, it’s key to use the right techniques for the best texture and flavor. Here are some tips to make your homemade honey wheat bread perfect every time:
- Preheat your oven to 375°F (190°C) for the best results. This temperature creates a golden-brown crust and ensures the loaf is fully baked.
- Set a timer and bake the bread for 25-30 minutes. Watch it closely, as baking time can vary. The bread should be a rich, golden-brown color when done.
- For a softer crust, brush the warm bread with melted butter as soon as it comes out of the oven. This makes the crust tender and delightful.
- Use an instant-read thermometer to check the bread’s internal temperature. It should be 190°F (88°C) for the best doneness.
- Achieve a shiny, professional-looking crust by applying an egg wash (beaten egg mixed with a tablespoon of water) to the dough before baking.
- Allow the bread to cool completely before slicing for the best texture. Cutting into a warm loaf can make it tear and become dense.
By following these simple baking tips, you’ll create a homemade wheat bread that looks great and tastes amazing. Enjoy the fruits of your labor!

Mixing Techniques and Dough Consistency
Getting the dough just right is key for making delicious homemade Honey Wheat Bread. Kneading is important for building the dough’s texture. For the best results, knead for 7-10 minutes. Use a stand mixer with a dough hook or knead by hand on a floured surface.
Proper Kneading Methods
To knead well, use a gentle but firm motion. Push the dough away from you, then fold it back. This helps the dough become smooth and elastic. But don’t overwork it, or it will be tough and dense.
Visual Cues for Perfect Dough
- The dough should feel slightly sticky but not too wet or dry.
- It should form a smooth ball that keeps its shape when gently poked.
- The dough should pass the “windowpane test,” stretching thin without tearing, showing good gluten.
Temperature Considerations
The dough should be between 75-80°F (24-27°C) for this recipe. This temperature helps the yeast work well, making the bread rise nicely. If it’s too cold, yeast works slower. Too warm, and yeast rises too fast, making the bread uneven.
By using these mixing techniques and checking the dough’s consistency, you’ll get a perfectly textured and tasty Honey Wheat Bread every time.
Storage and Freshness Tips
Keeping your homemade honey wheat bread fresh is key to enjoying its taste and texture. A few simple storage tips can help your bread stay fresh for days.
To store your freshly baked loaf, use an airtight container or wrap it tightly in plastic wrap. This keeps moisture in and prevents drying. You can keep it at room temperature for 3-4 days or refrigerate it for up to a week.
For longer storage, slice the bread and store slices in an airtight container or freezer bag. This makes it easy to grab a slice whenever you want. The bread will stay fresh in the freezer for months.
Always let your bread cool completely before storing. Warm bread can make it soggy or stale when sealed. Let it rest for at least an hour before packing.
To revive your stored bread, toast the slices or warm the whole loaf in the oven. This brings back the fresh, just-baked taste and texture.
“Proper storage is the key to enjoying homemade bread at its best. Follow these tips, and your honey wheat loaf will stay fresh and flavorful for days.”
Nutritional Information and Health Benefits
Homemade honey wheat bread is packed with nutrients. Each slice, about 69 grams, has 154 calories, 28 grams of carbs, 5 grams of protein, and 2 grams of fat. It’s a great source of dietary fiber, with 2 grams per slice. It also has iron and calcium, important for health.
Caloric Content and Macronutrients
This bread is a smart choice for nutrition. The carbs from whole wheat flour give lasting energy. The protein and fiber make you feel full and happy. Plus, the fat comes from olive oil, which is good for your heart.
Whole Grain Advantages
- Whole wheat flour in this recipe has more fiber, vitamins, and minerals than refined flour.
- Fiber in whole grains helps with digestion and may lower cholesterol.
- Eating whole grains can lower the risk of diseases like type 2 diabetes and some cancers.
Eating this homemade honey wheat bread can improve your health. It boosts your energy and supports your overall well-being.
Recipe Variations and Substitutions
Want to try something new with your homemade honey wheat bread? You can play with different flour mixes or types. For a denser loaf, add more whole wheat flour. Adding seeds or nuts can also give it a nice crunch.
Looking to change the taste? Try using maple syrup or molasses instead of honey. For a vegan option, use plant-based milk and agave nectar instead of honey. Remember to adjust the liquid if you change the flour to keep the dough right.
| Ingredient | Substitution |
|---|---|
| Honey | Maple syrup, molasses, agave nectar |
| Whole Wheat Flour | White whole wheat flour, spelt flour |
| Bread Flour | All-purpose flour |
| Unsalted Butter | Vegetable oil |
| Table Salt | Sea salt, Kosher salt |
Experimenting with different ingredients is key. Just remember to check the dough’s consistency and adjust as needed. With a bit of trial and error, you can create your own bread recipe variations and flour substitutions.
Conclusion
This homemade honey wheat bread recipe is a perfect mix of taste, texture, and health. It’s great for sandwiches, toast, or just a snack. It’s made with whole wheat flour, honey, and other key ingredients.
With a bit of practice, you’ll get really good at making this bread. You’ll learn how to proof the yeast and knead the dough. This makes the bread soft, fluffy, and full of flavor.
So, get your ingredients ready, heat up your oven, and start baking your own honey wheat bread. You can share it with others or enjoy it by yourself. Either way, it’s a recipe you’ll love making again and again.
FAQ
How many loaves does this honey wheat bread recipe make?
This recipe makes 2 loaves of honey wheat bread.
What is the total prep and cook time for this recipe?
It takes about 2 hours to prepare and cook this honey wheat bread.
What type of flour is used in this recipe?
The recipe uses whole wheat flour and all-purpose flour or bread flour. This mix gives the bread a great texture and taste.
What other key ingredients are in the honey wheat bread?
The recipe includes whole wheat flour, bread flour, active dry yeast, honey, milk, water, salt, and butter or oil. These ingredients are crucial for the bread’s flavor and texture.
What equipment is needed to make this homemade bread?
You’ll need a stand mixer with a dough hook (optional), a large mixing bowl, loaf pans, and measuring cups and spoons. Also, a wire cooling rack is necessary.
How long does the dough need to rise?
The dough needs two rise periods, totaling about 2 hours.
What temperature should the oven be set to for baking the bread?
Preheat the oven to 375°F (190°C) to bake the honey wheat bread.
How long should the bread be baked?
Bake the bread for 25-30 minutes. It should reach an internal temperature of 190°F.
How should the bread be stored for maximum freshness?
Store the bread in an airtight container at room temperature for 3-4 days. You can also refrigerate it for up to a week. Sliced bread can be frozen for months.
What are the nutritional benefits of this honey wheat bread?
Each slice has about 154 calories, 28g carbohydrates, 5g protein, and 2g fat. It’s rich in dietary fiber and provides iron and calcium.
Can I use alternative sweeteners instead of honey?
Yes, you can substitute honey with maple syrup or agave syrup in the same quantity for similar sweetness and texture.
Can I make this bread without a stand mixer?
Absolutely! You can knead the dough by hand. It will take about 8-10 minutes to achieve a smooth, elastic texture.
Can I add seeds or nuts to this recipe?
Yes, you can mix in ingredients like sunflower seeds, flaxseeds, or chopped nuts during the kneading process for added texture and flavor.
Can I make this bread vegan?
Yes, you can substitute dairy milk with a plant-based milk like almond or soy, and use coconut oil or vegan butter instead of regular butter.
What should I do if my bread doesn’t rise properly?
Check the yeast’s expiration date and ensure your water or milk is warm (but not too hot, around 105-110°F). Also, make sure the dough is placed in a warm, draft-free environment during rising.
Looking for more wholesome and easy-to-follow recipes like this Easy Homemade Honey Wheat Bread? Follow Thrill Recipes on social media for endless baking inspiration, practical cooking tips, and creative twists on your favorite dishes. Our community is the perfect place to explore new ideas, discover exciting flavors, and learn how to elevate your cooking skills. Whether you’re a seasoned baker or just starting out, you’ll find step-by-step guides, expert advice, and helpful tips to ensure every recipe turns out perfectly.
Stay updated with the latest kitchen trends, find inspiration for your next meal, and create dishes that impress your friends and family. From bread recipes and desserts to savory meals and snacks, we have something for everyone. Join our growing community of passionate food lovers, share your culinary creations, and connect with others who love to cook and bake.
Visit our social pages today to dive into the satisfying world of homemade bread and beyond. Explore exclusive content, bonus tips, and videos designed to help you succeed in the kitchen while having fun along the way!
